The 12 Permaculture Design Principles

I was recently fortunate enough to complete a Permaculture Design Course at Pocket City Farms. Permaculture is an “ethical and environmental design framework for personal and household self-reliance” (Holgrem 2006). It has a range of features to help you design your garden and household to be more (or fully!) sustainable. Here I will take you through the 12 permaculture design principles and some of the ways I have applied them at my place.

1. Observe & Interact

Take your time getting to know your space. Watch your garden at different times of day, different seasons. This will allow you to make decisions that best fit your land and surroundings.

2. Catch & Store Energy

This can be in the form of direct sunlight on different parts of your garden, or the movement of water across your property. This energy can be stored via solar panels or water tanks. Or you can slow water as it moves across your property to allow time for infiltration. A great example of this is the Natural Sequence Farming idea of leaky weirs, which slow water down but don’t hold it back completely i.e. are leaky. This gives water time to spread out across the landscape and slowly be absorbed by soil, supporting plant growth for longer and making the land more drought resistant.
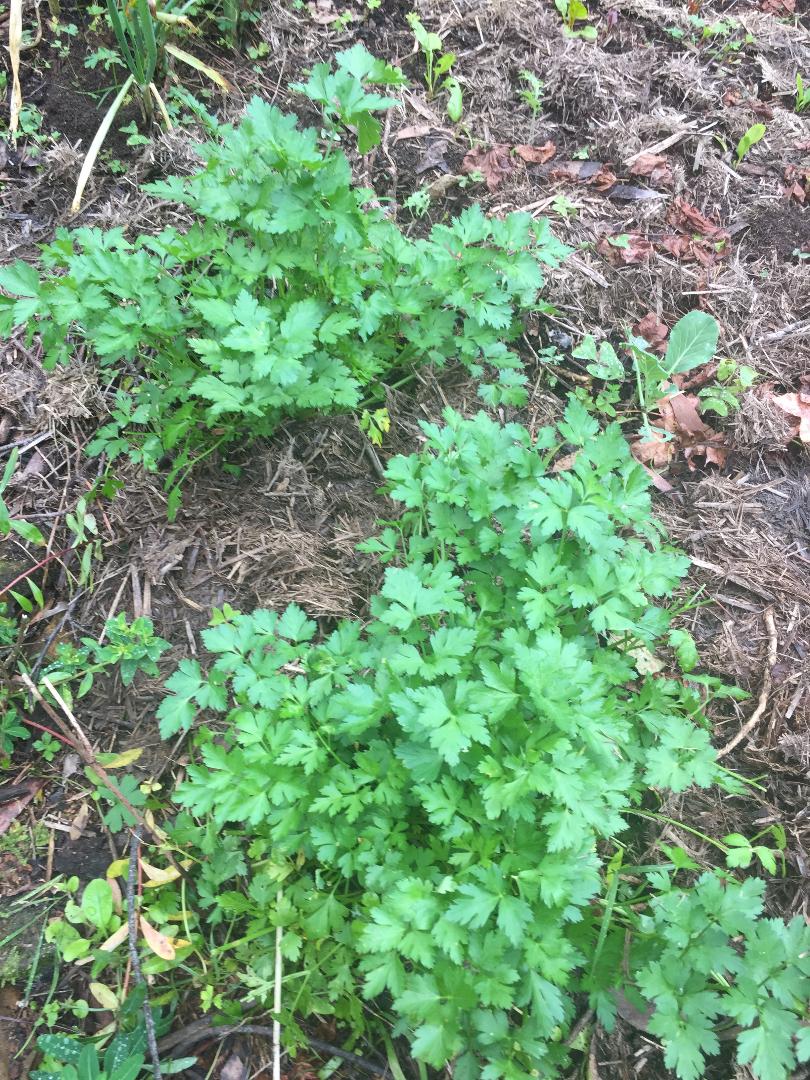
3. Obtain a yield

A picture of vegetables collected from the garden: tomatoes, zucchini, squash an celery.

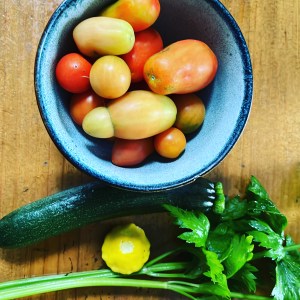
If you are reading this blog it is likely you are keen to obtain a yield. That’s why we are here – to grow our own healthy backyard produce. What steps will lead to the best yield? Are you using the best species for your climate?

For a few years I couldn’t get my zucchinis to fruit (I know, how embarrassing, the world’s easiest crop) but it was because I didn’t have enough pollinators in my yard. So I took steps to address my pollinator issue (see design principle 10 below) and started producing a crop.

Remember a yield could also be foraging for edible weeds, responsibly collecting firewood (I try to only use timber from my place), keeping honeybees, or producing your own power.

4. Apply self-regulation & accept feedback

Watch your garden and listen to what it is telling you. Where does the sun fall at different times of year? Where does the prevailing wind come from? That patch gets great sun in summer but almost none in winter – what can I plant that will work in both seasons? Where does water flow and pool? Why do my apple trees fruit but not my pears (tbh I’m still trying to figure this one out!)?

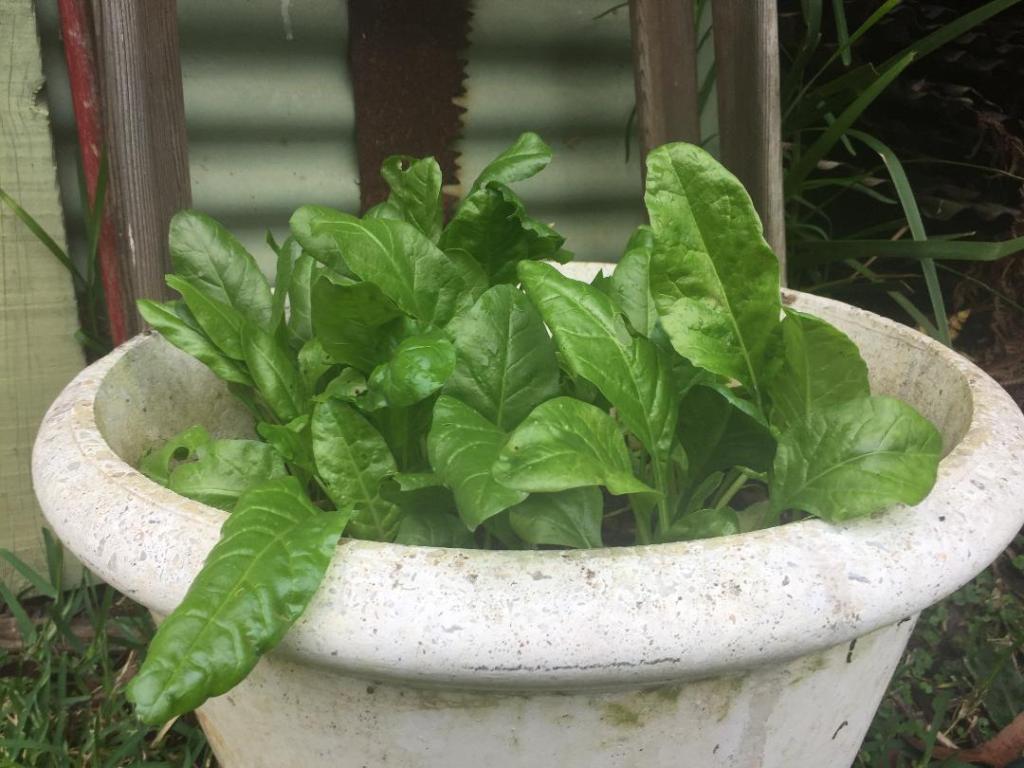
All gardening has some failure and requires adaptation. The trick is to not let it dishearten you but to learn from it. When I first moved to my place I could not get anything to thrive in my ‘kitchen garden’. I would plant all manner of crops and they would just sit there stunted. I finally figured out that my soil was basically sand and needed significant organic material if it was going to produce actual food for me. (NB this sandy soil is perfect for growing local natives so I haven’t touched it in my biodiversity areas). Also talk to your neighbours or local gardening groups to find out what works best in your location and climate. You may be able to by-pass some hard lessons!

5. Use & value renewable resources and services

So some renewable resources we know well – solar panels converting sunlight into electricity. But you can also consider soil health and fertility a renewable resource. Good soil helps you gain a yield, and soil with high organic matter holds more water, and the organic matter itself is renewable. It may start as food for us, the scraps of which we compost and then turn back into soil to produce another yield.

6. Produce no waste!

When you are conscious of the materials and resources that go into producing items, you become much more sensitive to what you throw away. The key of course is to buy less in the first place. And to buy products that are recyclable or compostable in the next instance.

A picture of a compost bin

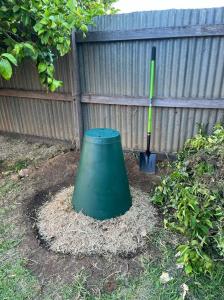
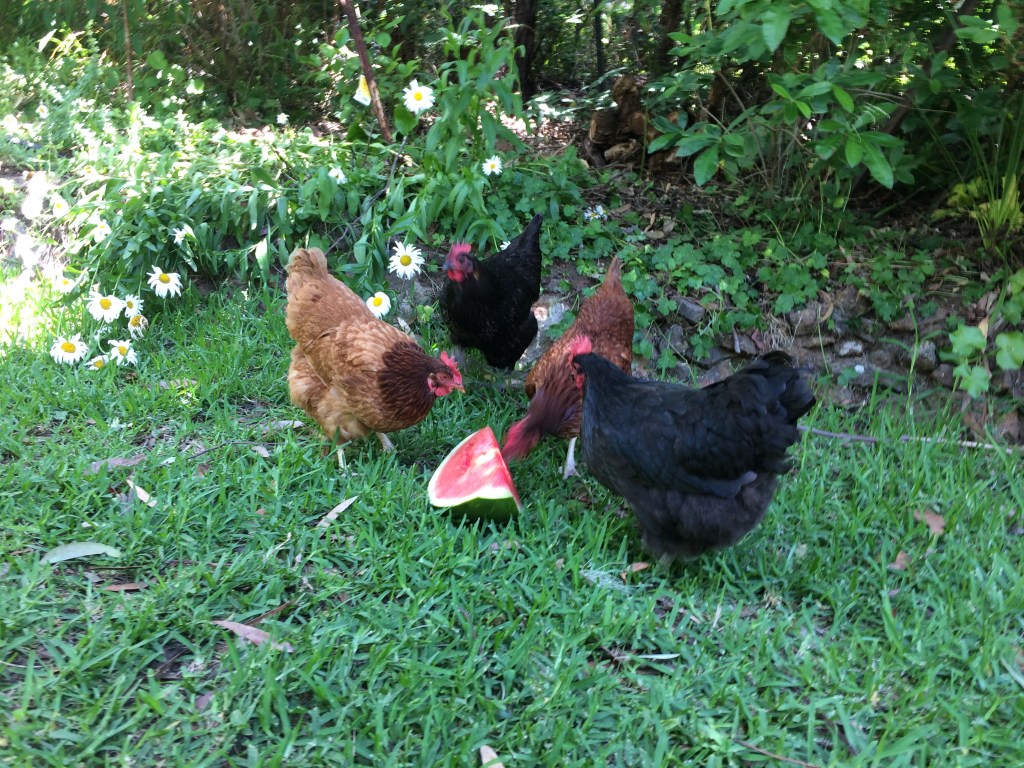
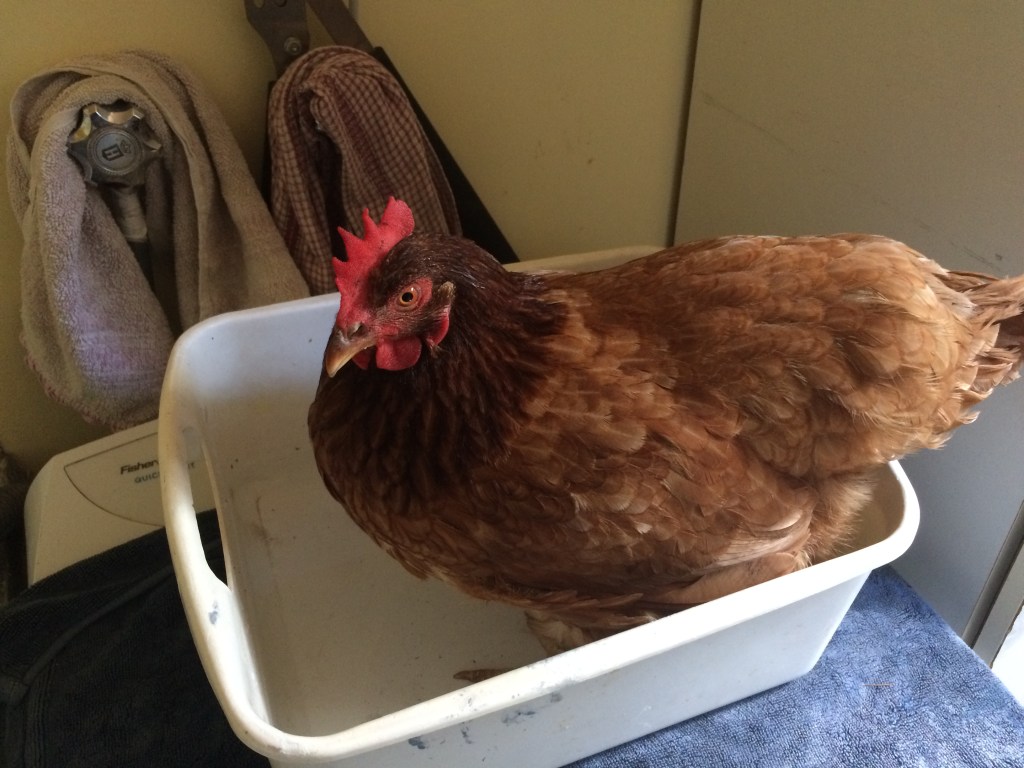
I have become obsessive about retaining organic material on my property. I compost everything I possibly can, only binning difficult invasive weeds that will cause me more grief if I try to compost. Fortunately my Council provides a green bin for garden waste so it also eventually gets composted too. I also have a worm farm and for a long time I had chickens as well which has meant almost all garden and kitchen waste is retained onsite and eventually re-used on the garden. I do this 1. to reduce my waste footprint and 2. if I had to buy compost in it would cost me a fortune so why would I throw such valuable material away! My neighbours up the street have set up a communal composting bin in their front yard which is very cool.

Where it gets trickier is with plastic waste. I recycle, of course, through my Council kerbside collection program. There was a time in Australia where you could also take your soft plastic waste back to the supermarket for recycling. This program has recently ended, forcing me to get much more creative about what I buy. I try and choose plastic free options where possible (e.g. pasta in a cardboard box rather than a plastic bag) and if you have a local food wholesaler you can often bring your own containers.

Check out the 1 million women blog 6 Zero Waste Instagrammers To Inspire You.

7. Design from patterns to details

A garden with paving and colourful plants.

This principle focusses on you and your daily patterns. What parts of the garden do you walk past everyday? How much time will you realistically be able to spend in your garden? What foods do you love to eat? By noting your patterns, you can then design your garden around them. Plant foods you’ll want to harvest every day closest to the house. This quote from Jackie French illustrates this principle perfectly “I’ve learnt what veg to plant near the kitchen door, for me to grab when it’s raining or I want to prepare a meal quickly” (French, 1999 Backyard Self-sufficiency).

8. Integrate rather than segregate

Your garden is actually just a small part of a whole ecosystem. And a whole community. What connections can you build with your neighbours to create ‘community-sufficiency’ rather than just self-sufficiency.

9. Use small and slow solutions

My neighbours recently completely renovated their garden, cutting down trees, clearing the brush under the remaining trees, putting in paving and re-planting. They did all this over a few weekends, installing a Mediterranean style garden. I have estimated that in the process they have reduced the biodiversity of their property from about 200 species to maybe 50 (this is plants and animals only, not insect and soil life). I also think they have no idea that they did this. The property is a holiday home and the garden looks lovely but it did not consider what was already living there at all. It was hard to watch.

I have heard it recommended that you take at least 12 months before you really get carried away in your garden. This provides enough time for you to see how the sun travels across your property in different seasons, to know what other species use your place (either permanently or only sometimes – I have a flock of variegated fairy-wrens that only come by for a few days in late winter), to see what is already working and what might need to change. It can be hard to be patient but this patience may well save something on your property that you might have otherwise unknowingly destroyed. It was a few years before I discovered I have native orchids and antechinus on my property – beautiful! It also means energy and resources aren’t wasted on activities that end up being wrong because you didn’t understand your property well enough at the time.

So take your time. Small gentle steps.

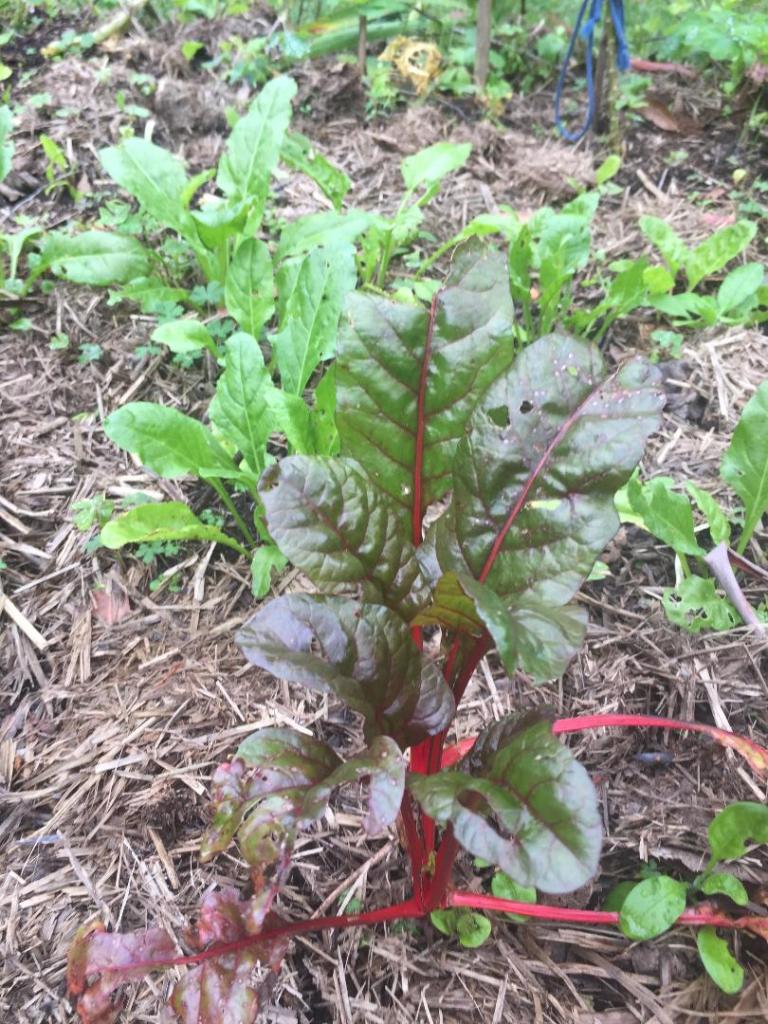
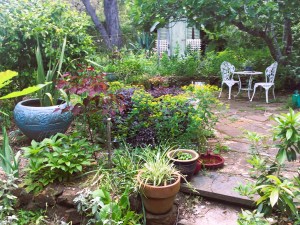
10. Use and value diversity

An Orchid Swallow-tail Butterfly. One of the 8 species of butterfly I have identified at my place.

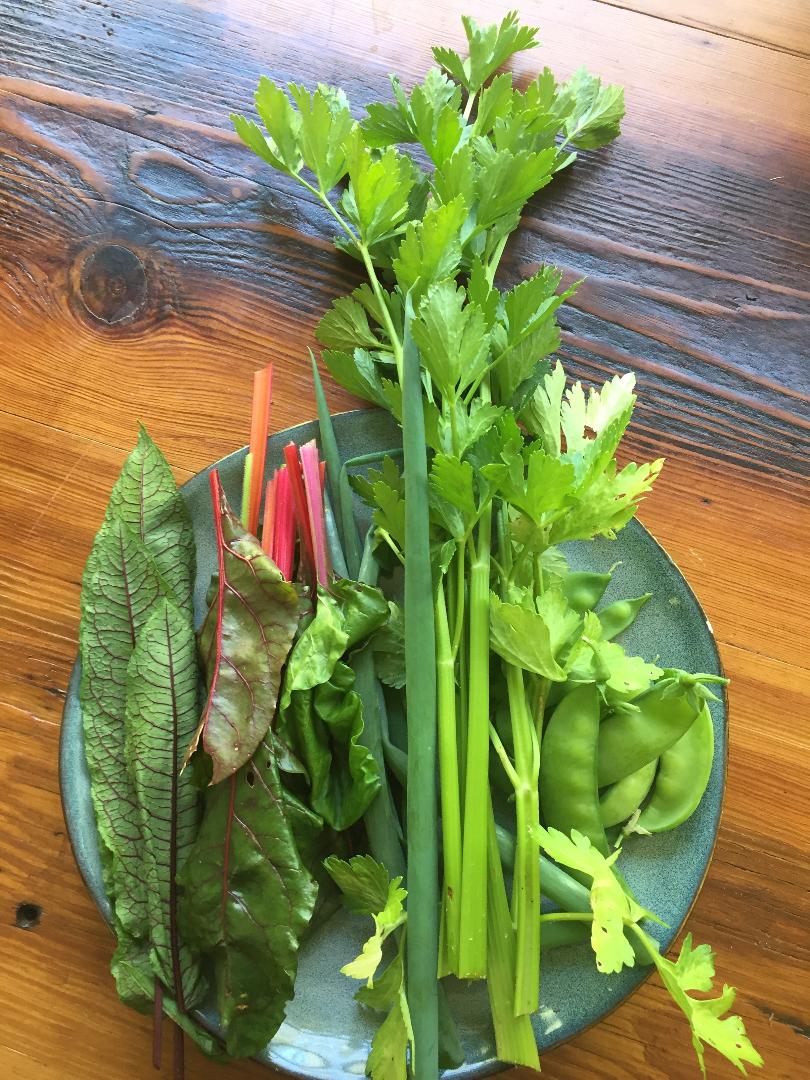
Diversity benefits our gardens. Biodiverse gardens are more resilient. They attract insectivorous species such as small birds and microbats which help to manage insect pests. They attract a wider variety of pollinators improving our yields. They mean we eat a more diverse range of food. And they mean we get to delight in the sheer range of species we also share our space with (like the boobooks owls that were calling last night). A wide diversity of edible perennials means there is always something to eat.

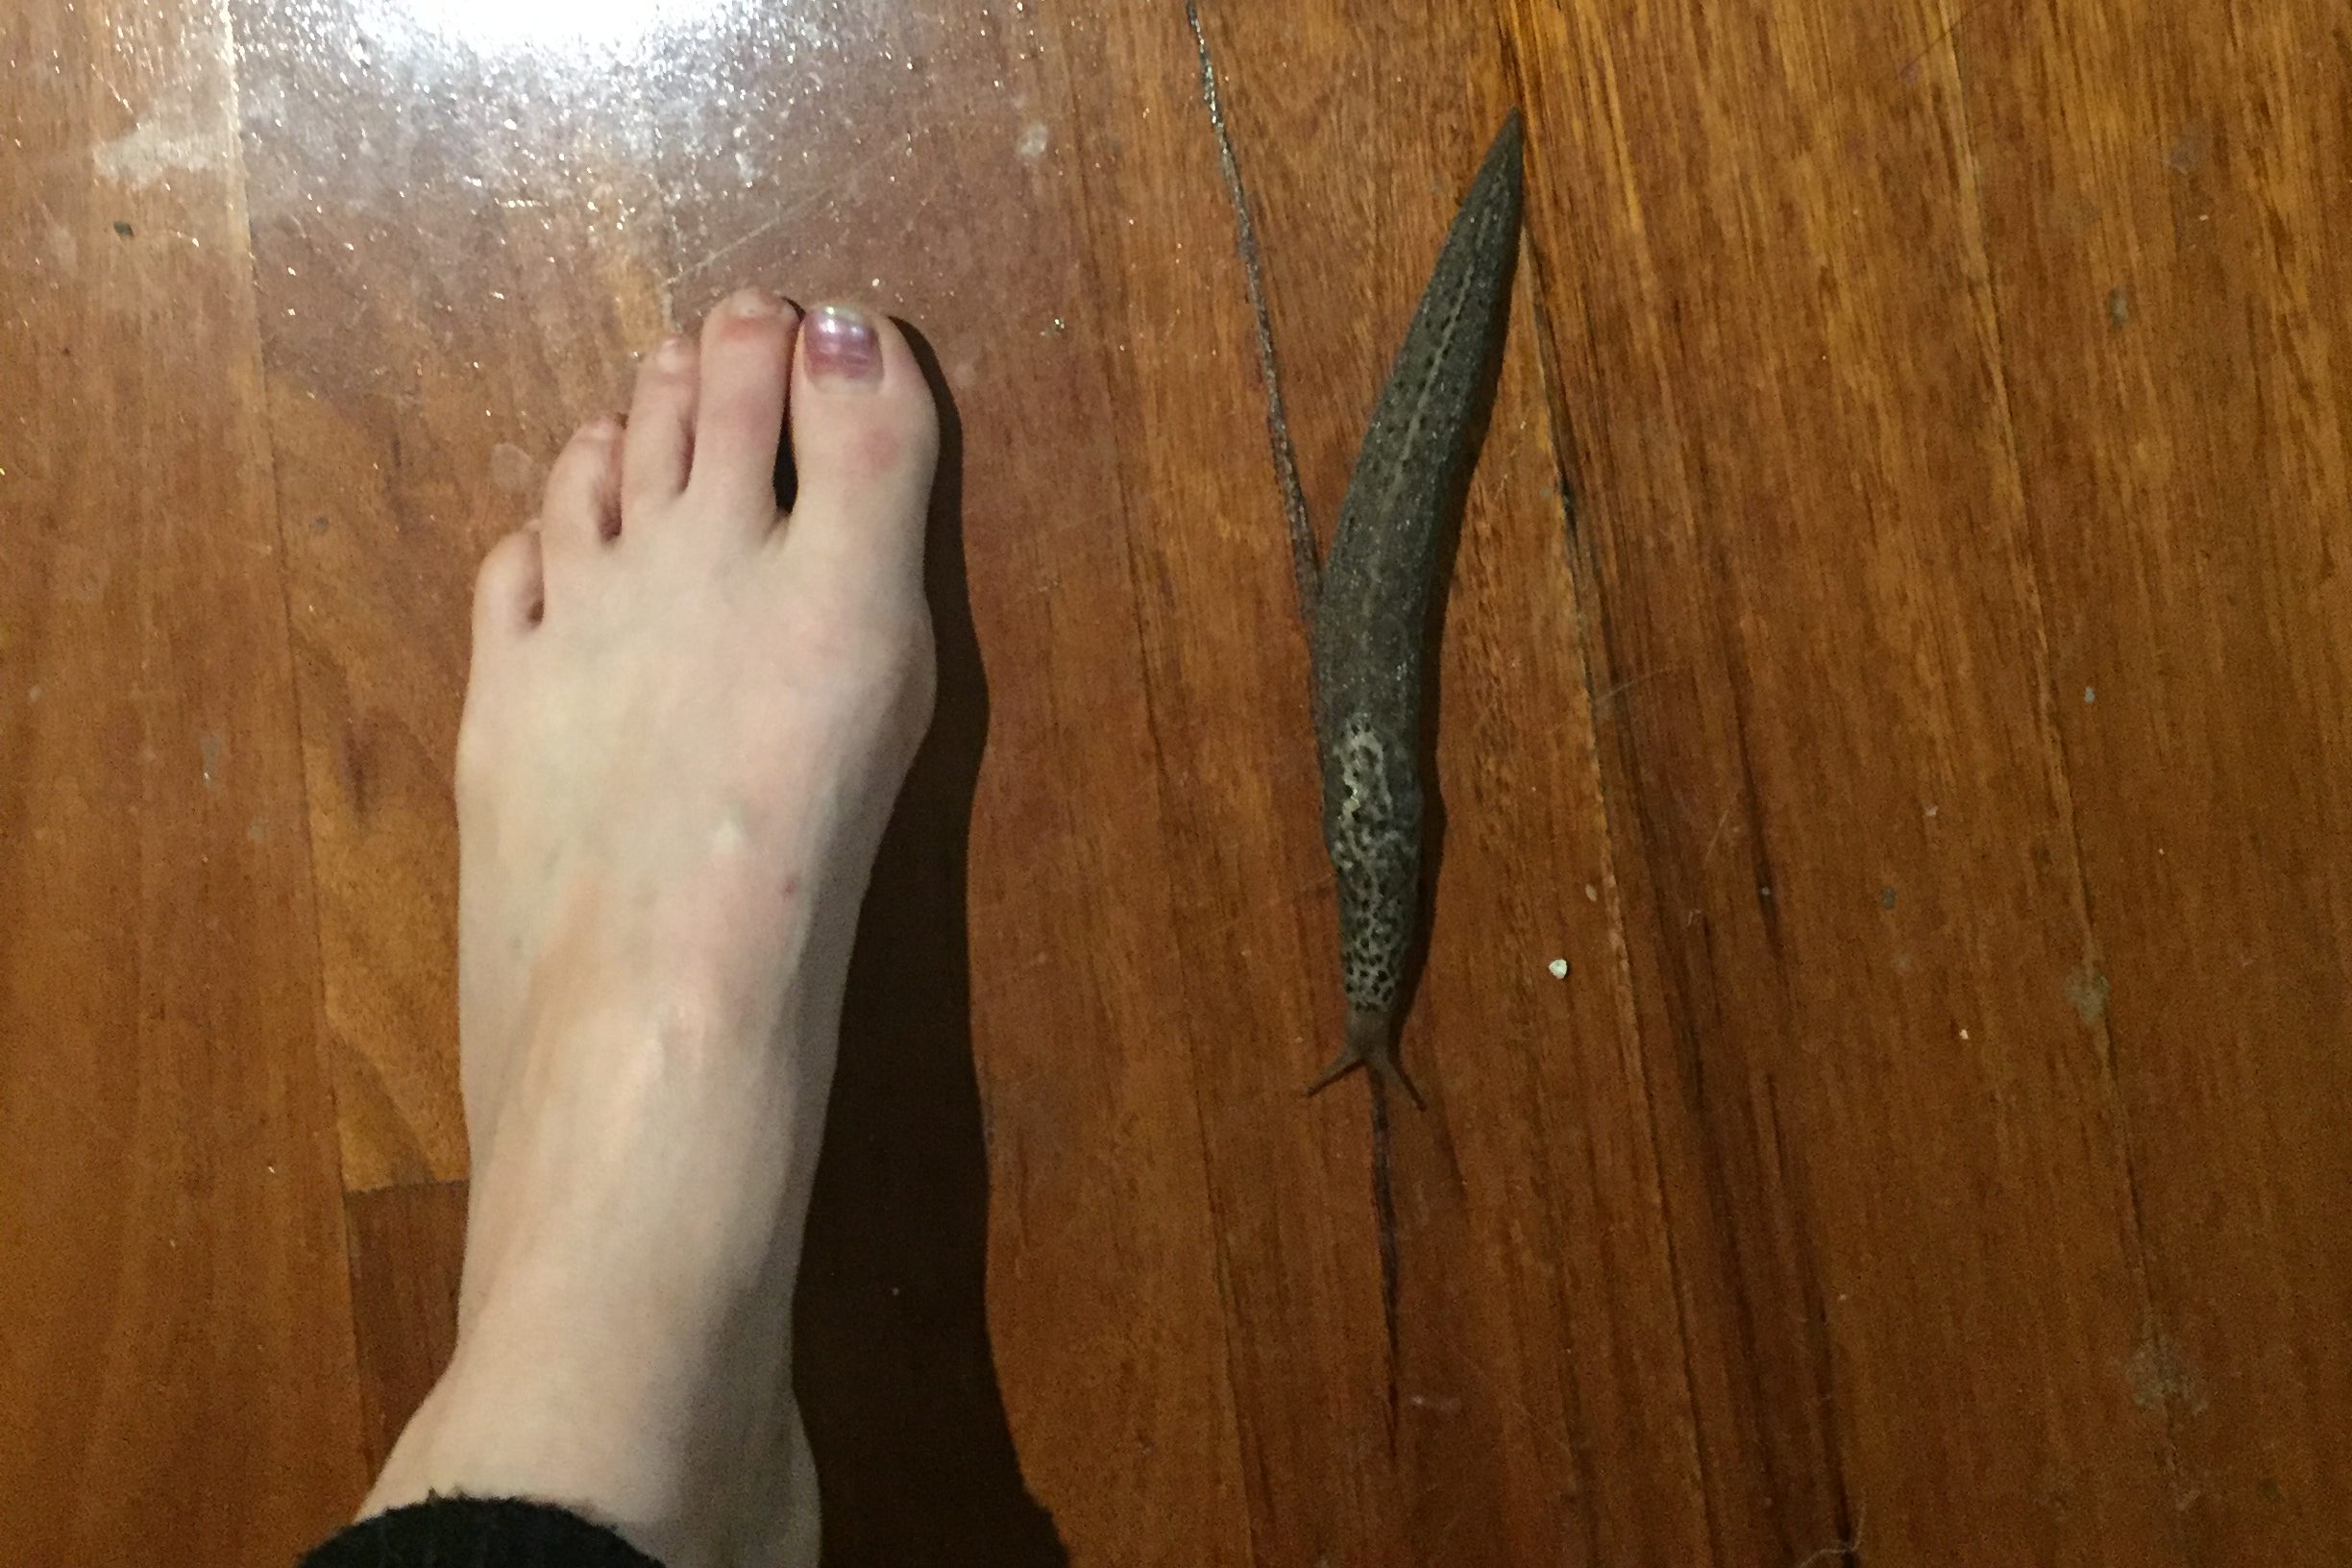
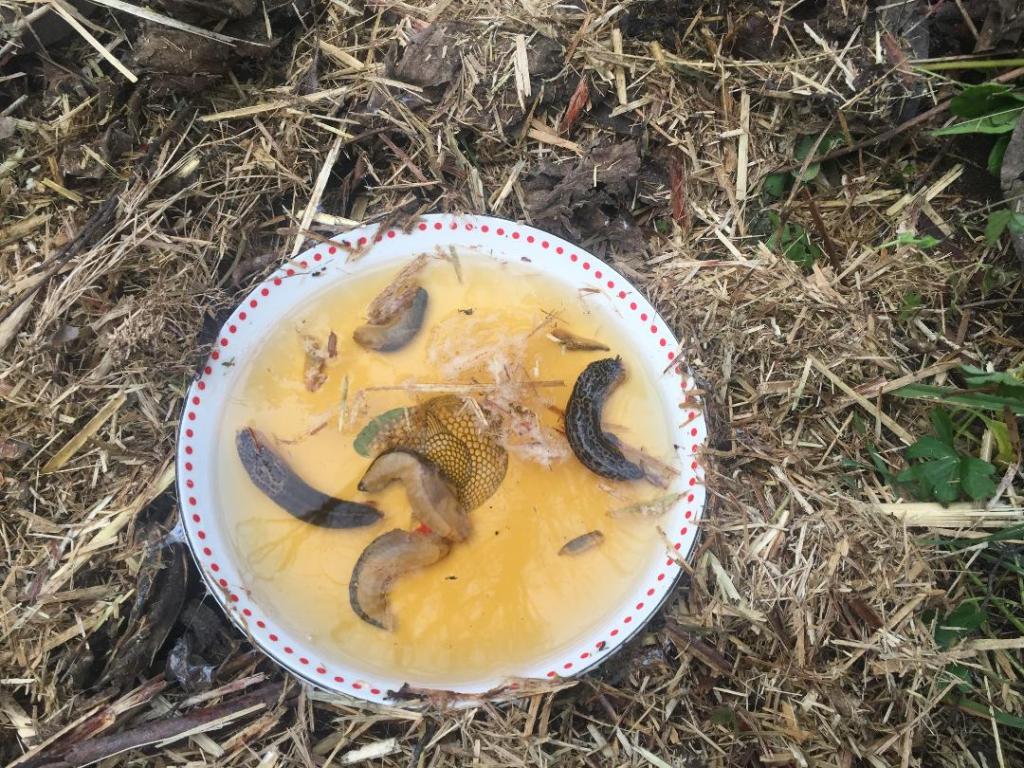
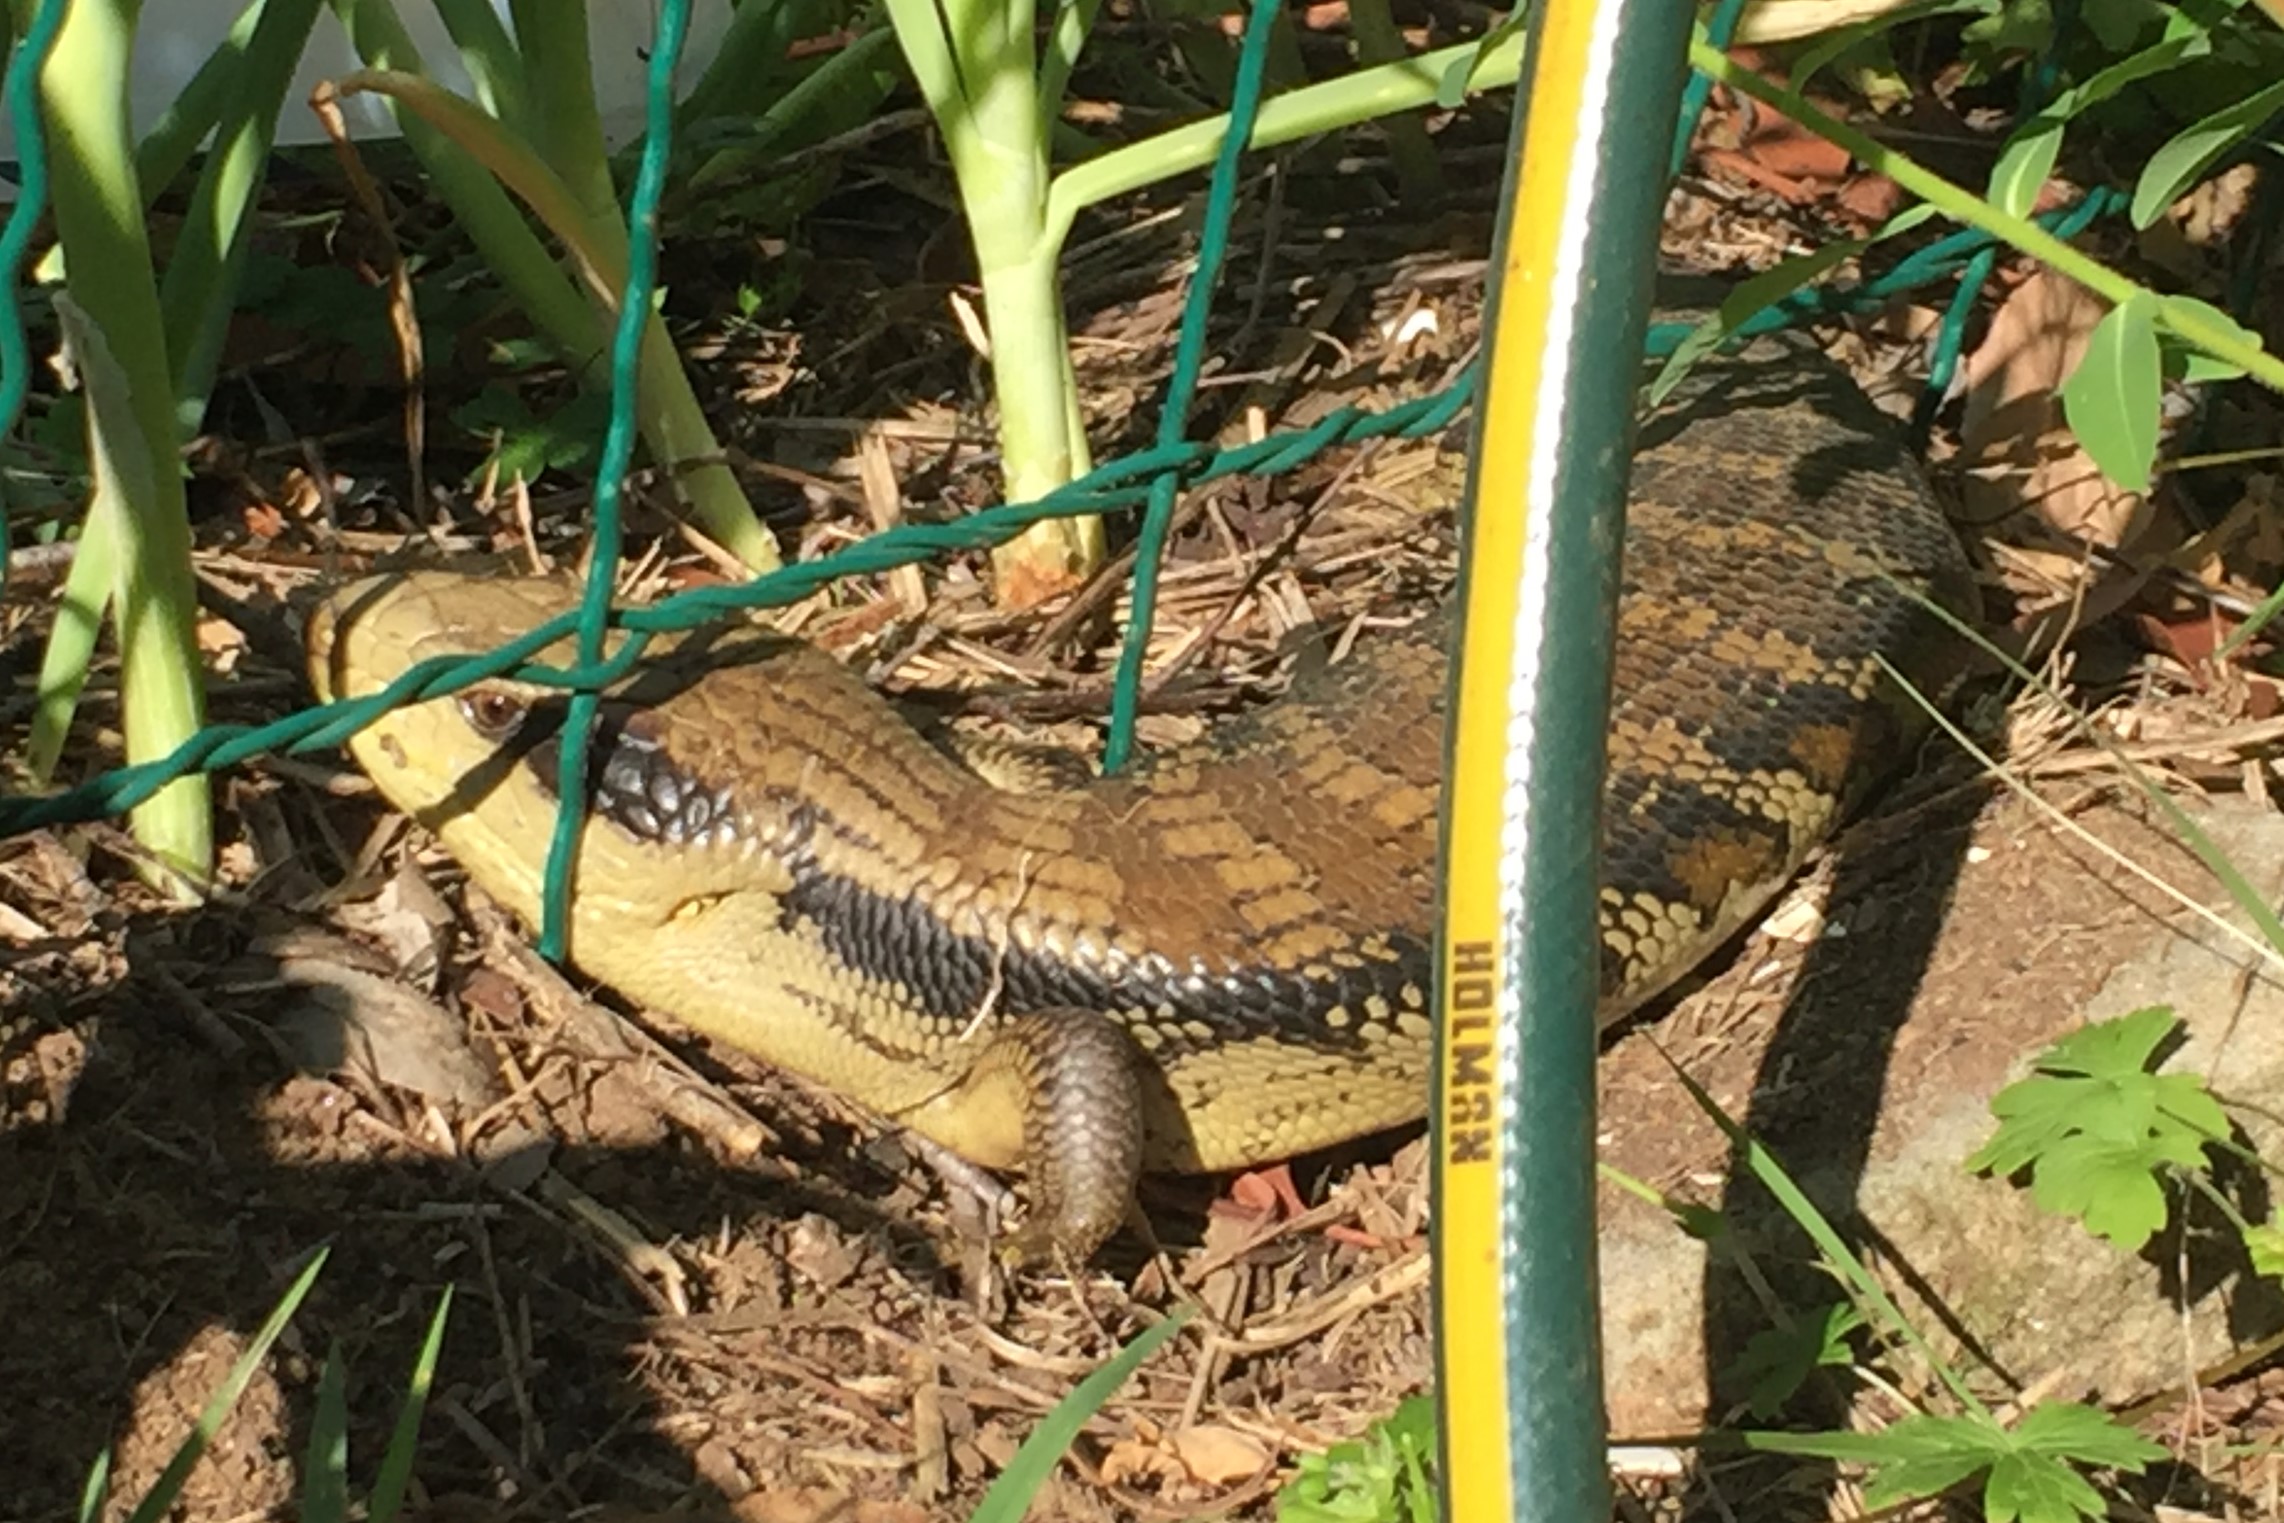
Diversity isn’t all about the number of species though. Diversity in habitats also has benefits. Rocky outcrops or woody debris provides habitat for lizards like Blue-tongues which eat garden snails. Diversity in food layers increases what we can grow (e.g. the permaculture idea of a food forest maximising the yield from a small piece of land) and provides microclimates allowing us to grow a wider variety of plants (more diversity – win!).

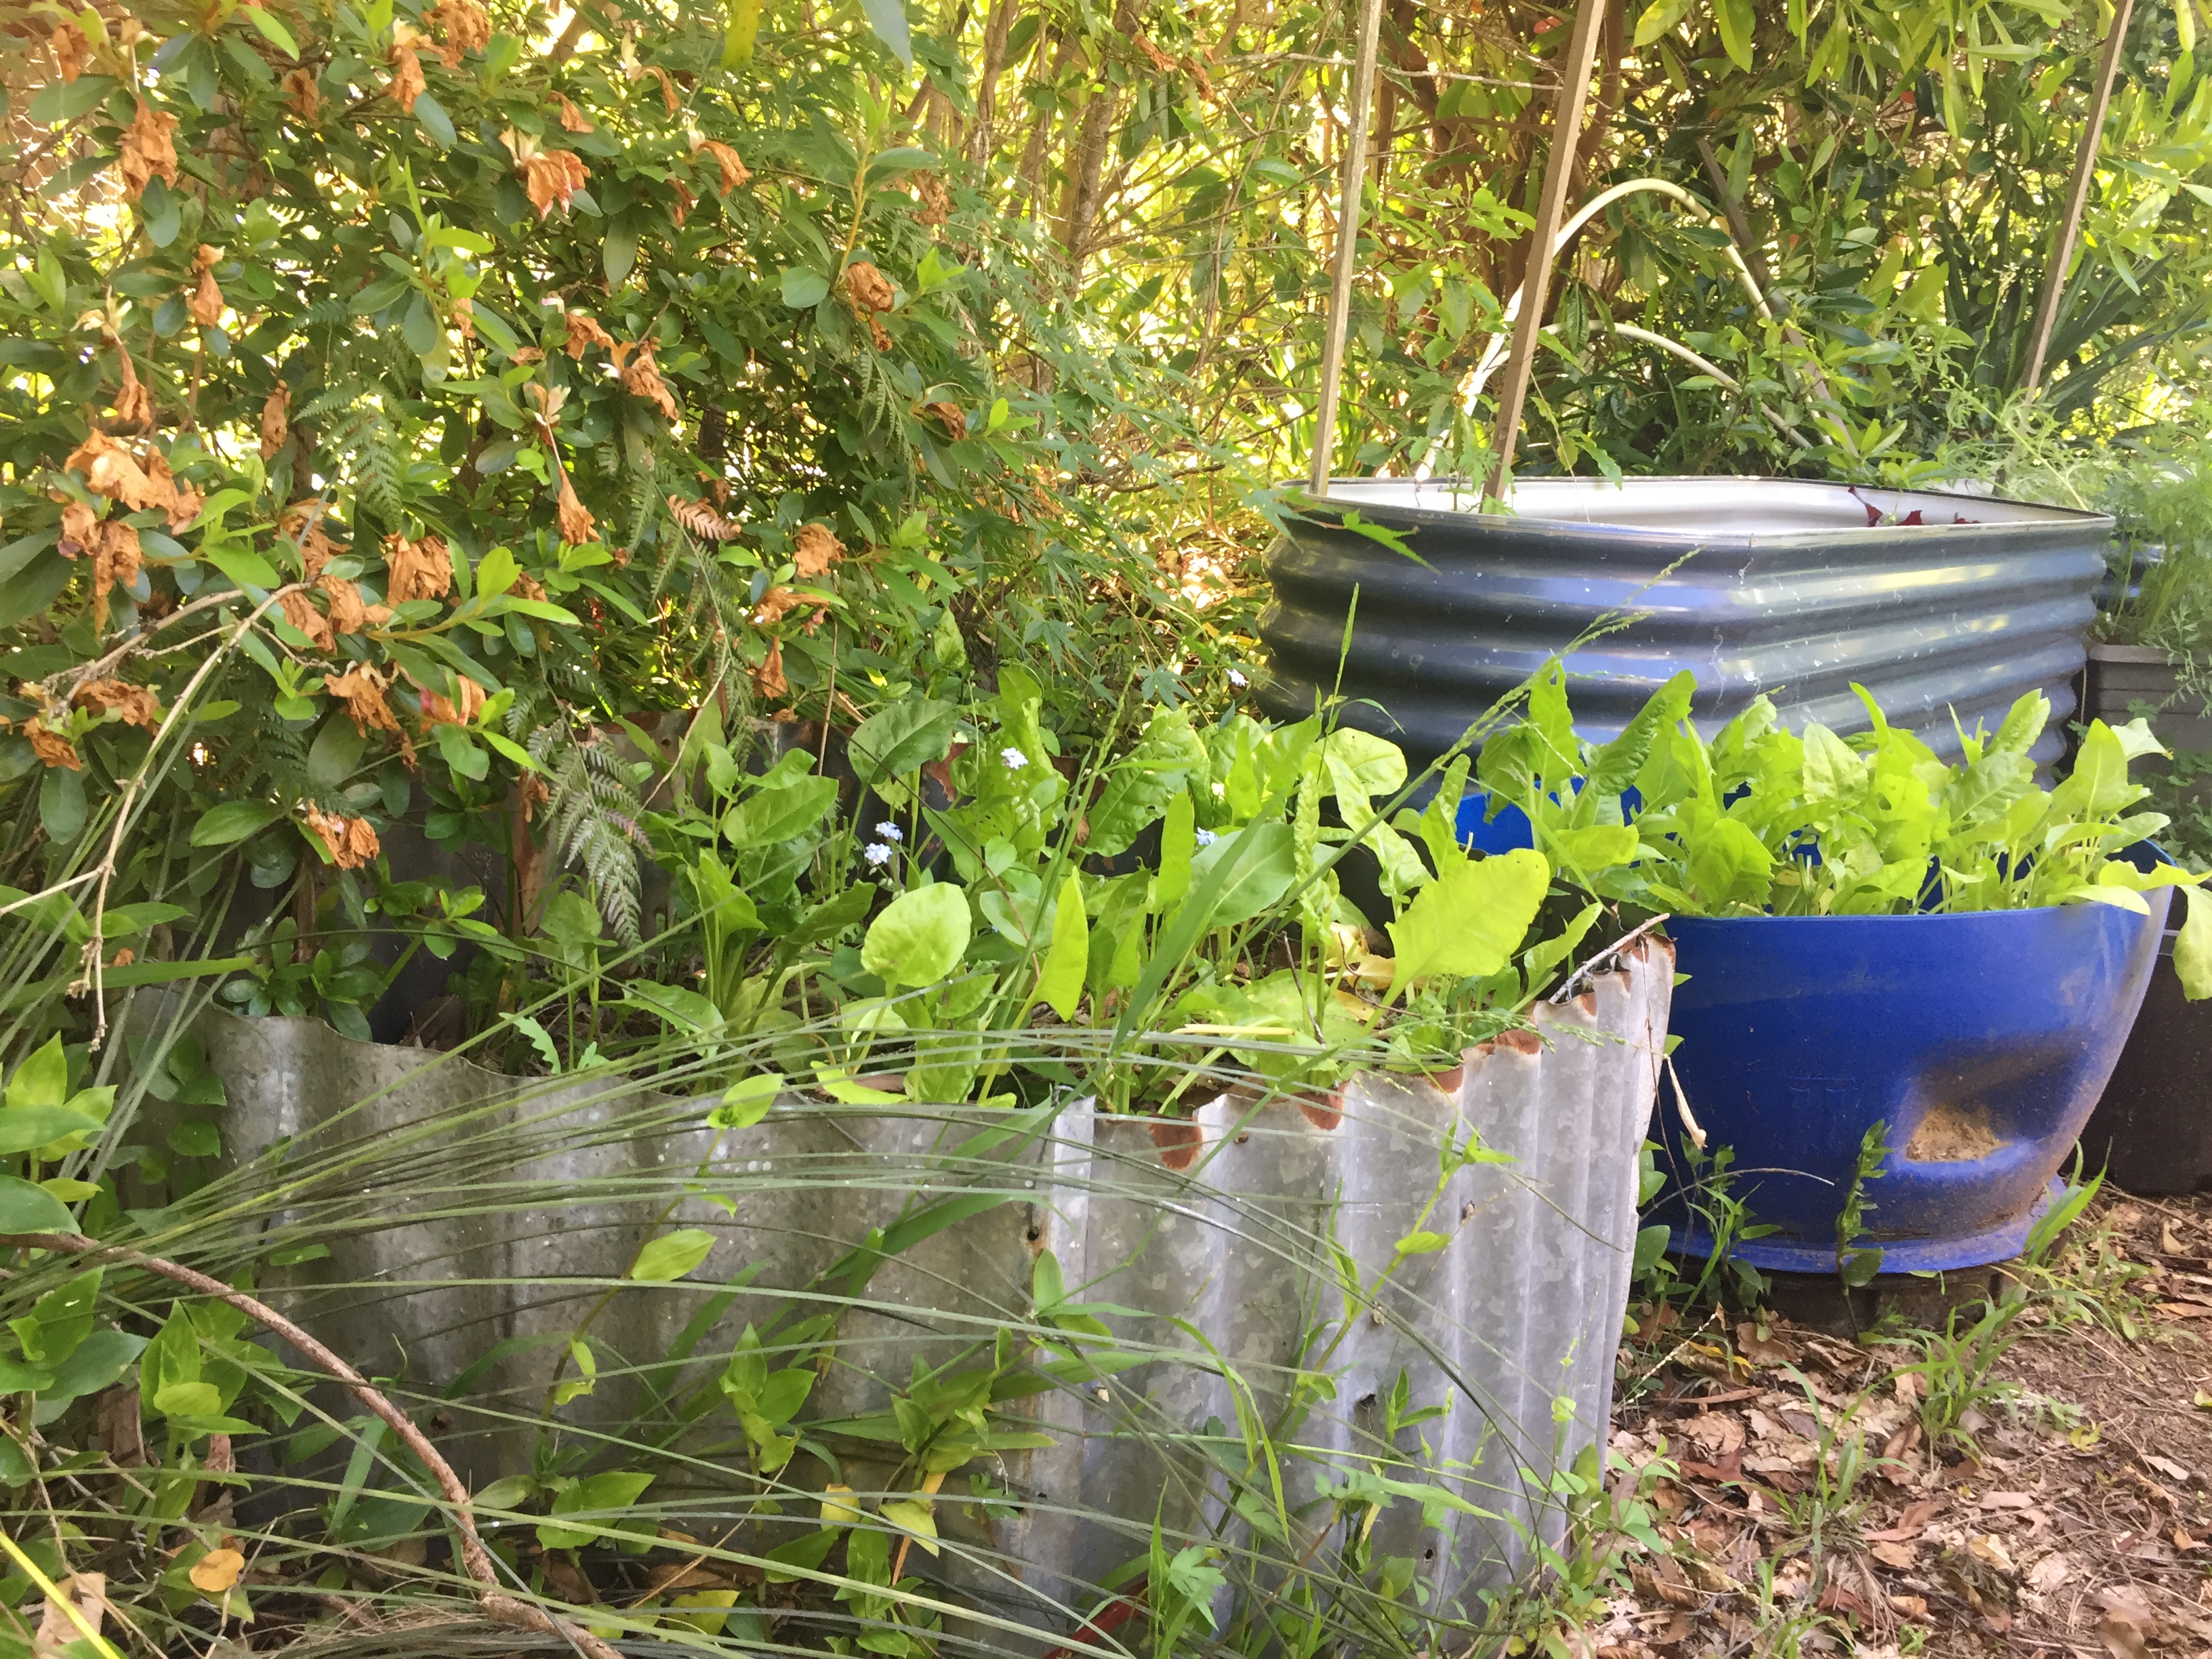
11. Use edges and value the marginal

a photo of outdoor steps with a gap between the steps and the fence that is planted with strawberries

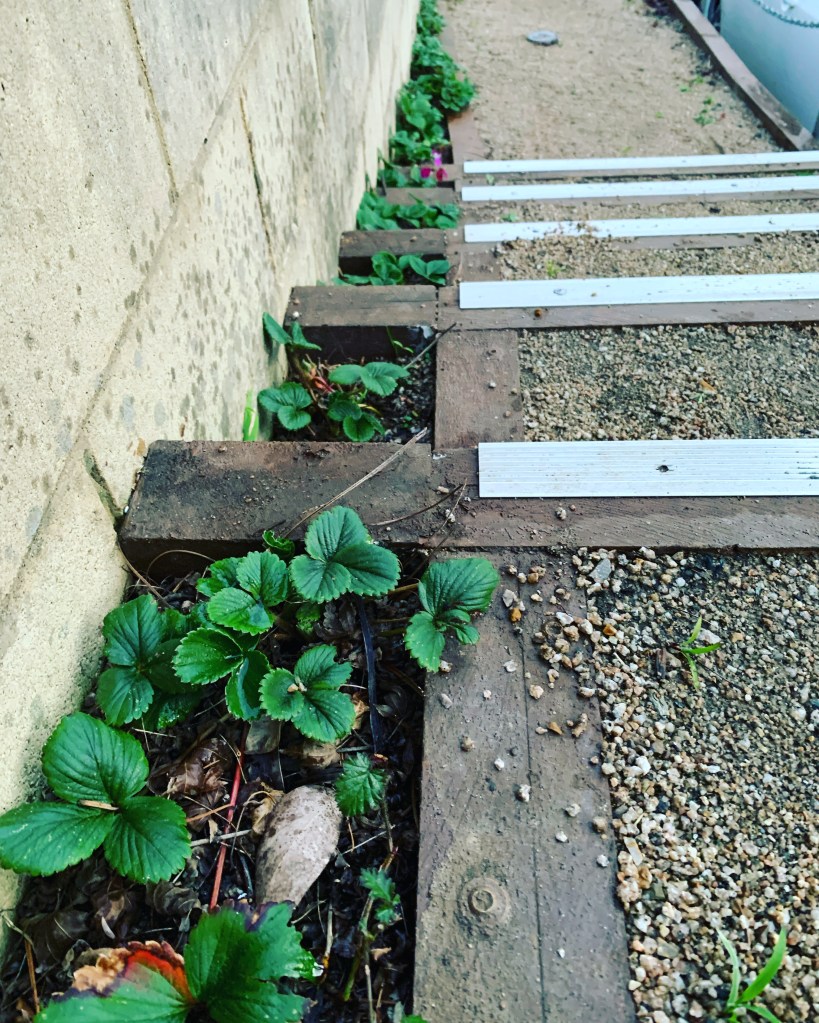
Where on your place do you have areas that are under-utilised? The nature strip? The edge of the driveway? The narrow shaded path on the south side of the house?

I love this picture from my massage therapist’s place where she has planted strawberries in the gap by the stairs. A clever way to implement design principle number 11!

12. Creatively use & respond to change

As we know, life is change, and a garden is never finished. We have always had to respond to change, and now more than ever we need to find creative ways to build resilience and respond to (often rapid) change. What changes do we need to make for our gardens, ourselves, our families or our communities?

References

French, Jackie (1999) Backyard Self-sufficiency, Aird Books

Holgrem, David (2006) Foreword to Morrow, Rosemary Earth User’s Guide to Permaculture, Melliodora Publishing

Leafy greens! A gardener’s best friend

Being in a cooler climate, I have had to accept that there are things I just can’t grow. Or if I can grow it, it will be very slowly. I grow tomatoes but they will 4 or more months from planting to fruiting. I’ve never really had any luck with eggplants or capsicums. But I can grow leafy greens like a champion.

Here are some of my favourites:

Silverbeet

Everyone always bangs on about silverbeet being one of the easiest crops to grow, so I was super disheartened when my early attempts were total failures.

Rainbow chard is a joyful addition to the garden

It turns out silverbeet is easy to grow, you just need decent soil to do it in. In the early days, my place was pure sand and it took a couple of years to improve it enough to grow crops like silverbeet (or anything really!).

(Keep an eye out for my upcoming post about improving your soil).

Now it is one of my staples. I prefer rainbow chard purely because it is colourful and that makes me happy. I grow it from seed, either in pots or straight into site but it also plants out well from store bought seedlings. Make sure you prepare the soil with compost and other organic matter and follow on with a liquid fertilizer every couple of weeks after they germinate. I always mulch after as well. You will need to protect from slugs and snails while establishing but once they harden off they will be pretty right.

Leafy greens are “hungry feeders” meaning they need good quality soil to grow well, and will pull a lot of nutrient from your soil as they grow. They also need water if it’s dry. They will tolerate a bit of shade too which is great and you can sow all year round except Winter.

Perpetual spinach

Perpetual spinach does well in pots and tolerates some shade

A genius plant that just keeps on giving. I have had some last for years (i.e. perpetual!). It’s pretty much the same routine as for silverbeet above. Feed the soil before planting and don’t let it dry out too much. It will give you yearlong greens that you can use in salads, stir fries, pasta dishes, honestly anywhere you want something green in your meal.

Again it will tolerate or even enjoy a fair bit of shade. Its great to grow in pots in shadier parts of the garden, freeing up space in your vegie beds for more sun-loving crops.

Kale

It took me a while to become a fan of Kale. It wasn’t until I learned how to cook it properly that it became a garden staple. Its a hardy long-lived perennial that will just keep on going.

I grow from seedlings purchased from the garden centre, although I have just had a whole bed of red russian kale pop up from a plant that self-seeded (yay!). Cabbage Moth Butterfly caterpillars are a problem for me until the plants get established. After that, they still get nibbled but handle it without too much loss. You can net or cloche if the caterpillars are a real problem until established.

Remove lower leaves for your dinner allowing the tips to continue to grow (forming kale “trees”).

Sorrel

Sorrel is great in salads

Another great garden staple, sorrel has a tart lemony taste. I grow red-stemmed sorrel (again for the colourful joy). It dies down in Winter but will pop back up again in Spring and last through to early Winter again.

Again, it is fine with shade and is very hardy. I use in salads or as a filler in pesto.

Other greens to consider

  • Cut and come again lettuce. Can grow all year round and will tolerate shade. Keep up the water or can become bitter and shoot to seed.
  • Garlic Chives. Doesn’t die down in winter like onion chives. Is hardy and adds a lovely mild garlic flavour to stir fries, salads and pesto.
  • Celery. I grow from seedlings. Lasts forever, you can just take a stem or two and it will keep on growing.
  • Parsley. A brilliant herb. Easy to grow, can chuck it in anything. It is biennial meaning it will last a couple of years before going to seed and needing to be replaced.
  • Borage. This self-seeds in my garden. It is most often grown for its edible flowers but you can also eat the leaves. The leaves are coarse so I use sparingly and chop it up very finely.

Managing chickens in hot weather

Chickens are pretty tough but very hot weather can be dangerous. Chickens can suffer heat exhaustion, dehydration and even die from a very hot day. Any days over 35 Celsius (95F) can put chickens at risk.

Here are some tips on how to manage chickens in hot weather.

1. Shade and soil

On hot days, chickens will find the shadiest spot and dig down into the soil. This is because the soil gets cooler and damper as you go deeper. Letting your chooks into the shadiest part of your yard (that is still safe from predators) where they can burrow into the soil will help them get through the day.

Shade and access to cool soil can help your chickens through a hot day

If you have a long dry spell (Australia has droughts that last years), it may be the soil is very dry even at depth. Hosing the area down before giving your chickens access can help.

2. Water, ice and cooling treats

Chickens are dumb. Ok that’s a little unfair but they do some pretty dumb things, like not drinking water on hot days if the water is too warm. Regularly changing the water throughout the day so its nice and cool will encourage your chooks to keep hydrated. If you can’t be home, freezing a large block of ice (in an ice cream container or similar) and putting this is their water will help keep it cooler for longer.

It also helps to provide a number of different water sources that will be in the shade in different parts of the day.

Providing cool treats like watermelon straight from the fridge can also help.

Watermelon is a great treat on hot day

3. A misting system

A misting system is especially helpful if you can’t be home for the day. When I got mine, I set it up in the shady part of the coop thinking the chooks would stand in the shade and enjoy the cooling mist, appreciating how loved and cared for they were. But no, as previously mentioned chickens are dumb. They were terrified of the mist and huddled as far from the cooling system as space would allow i.e. in the direct sun. Eventually I figured out to move the misting system to the sunny side so at least the chickens would stand terrified in the shade.

It’s good to have the misting system on a timer so its starts when the day warms up, so you are not just running the tap all day. The little misters can block quite easily too, so a regular check is always good.

Here is a YouTube video on how to set up a misting system Installing a Misting System for Chickens.

4. Bring them inside

Chickens will hold their wings away from their sides to help cool down, as well as pant. If they are sitting still and panting and looking visibly distressed it may be time to bring them inside. I have used a water bath to cool down a struggling chicken (see picture below). They are usually surprisingly compliant, standing quietly in the tub, and on one occasion one girl just sat happily down in the water.

Pop your chicken in a shallow bath of water to cool down

You can also put them in a pet carrier and bring them into an air conditioned room. I had a lovely afternoon watching a movie in the air con with a couple of chooks in their carriers enjoying the serenity.

Conclusion

Its possible to get your chickens through a hot day with a little bit of foresight. If you can manage to be at home to tend to them, this is best, but if you can’t be home, hopefully the above tips provide some options to get your flock safely through the day.

Controlling slugs with beer traps

I have had a lot of success controlling slugs with beer traps. A beer trap is a dish of beer left in your garden overnight. The idea is the slugs are attracted to the sweet smell of the beer, get drunk and end up drowning in the dish. I have killed dozens of slugs a night with a few traps like this scattered around the garden, and trust me I have had some doozeys!

Terrifying giant slug in my kitchen – ew!!

I use a shallow dish which I bury so the rim is level with the soil. I get the cheapest beer I can find and fill almost to the brim. I have also used watered down wine just as successfully.

Interestingly, I have had this work even with non-alcoholic beer (left by someone at my house!) and non-alcoholic wine (bought by me by mistake!) which undermines the whole ‘getting drunk’ idea.

A dish will usually last two nights before it needs to be refreshed.

Beer trap with slugs in

If you have a lot of slugs then you will need to keep the traps out for quite a few nights. I have had a heap of rain this Summer and a tonne of slugs. I have had to put out multiple traps over consecutive nights to really make a dint in the population. Over a few days you will find that you are catching fewer and fewer slugs which means the process is working.

It’s also worth remembering that rain will water down the beer and make the traps less effective.

I have only ever caught slugs withe beer traps, never snails. Thankfully snails are less of a problem for me.

The only down side is that beer is not very cheap. It would be cheaper to buy snail and slug pellets however the active ingredient in most of these products is also harmful to a range of other animals including pets.

Attracting birds like magpies or making a safe haven for snail and slug eating lizards like blue-tongues can also help with controlling these annoying pests.

Blue tongue lizards and magpies are both great for snail and slug control

Hi, I’m Vanessa!

And I love gardening.

I love plants, I love soil, I love growing my own food. I love being outside.

This blog is about my garden adventures. What’s worked, what hasn’t. How I garden at my place, which will hopefully help you garden too.

I live between cool and warm temperate climates so my blog is about what works for me. Having said that, I have grown a bunch of stuff that wasn’t technically right for my climate. I have also had a my fair share of failures. But that’s part of the fun!

I look forward to sharing my losses and wins with you and the joy that gardening brings me.

Welcome to My Little Eden!